Hey, my lovely friends! With my new school year schedule in place, I have more time to spend on creative things like crafts and photography. I had some books that I didn’t know what to do with, so I decided to make a garland to hang in my room. Today I’m showing you how to make the same garland, along with photos.
Supplies
1 or more books (Depending on the size of the book and your preference for garland length, you might need two books)
Circle paper punch (You can also experiment with other shapes like stars or flowers)
Glue
String
Needle or hole punch
Directions
Step 1. Prepare your materials.


The book I used was a hardcover. To make removing the pages easier, I cut off the cover. You’ll notice that the pages are arranged in folded sections. Cut off the glue and string that’s holding the sections together.
Next, cut off the folded edge of each section, leaving you with loose pages.
Step 2. Make your shapes.


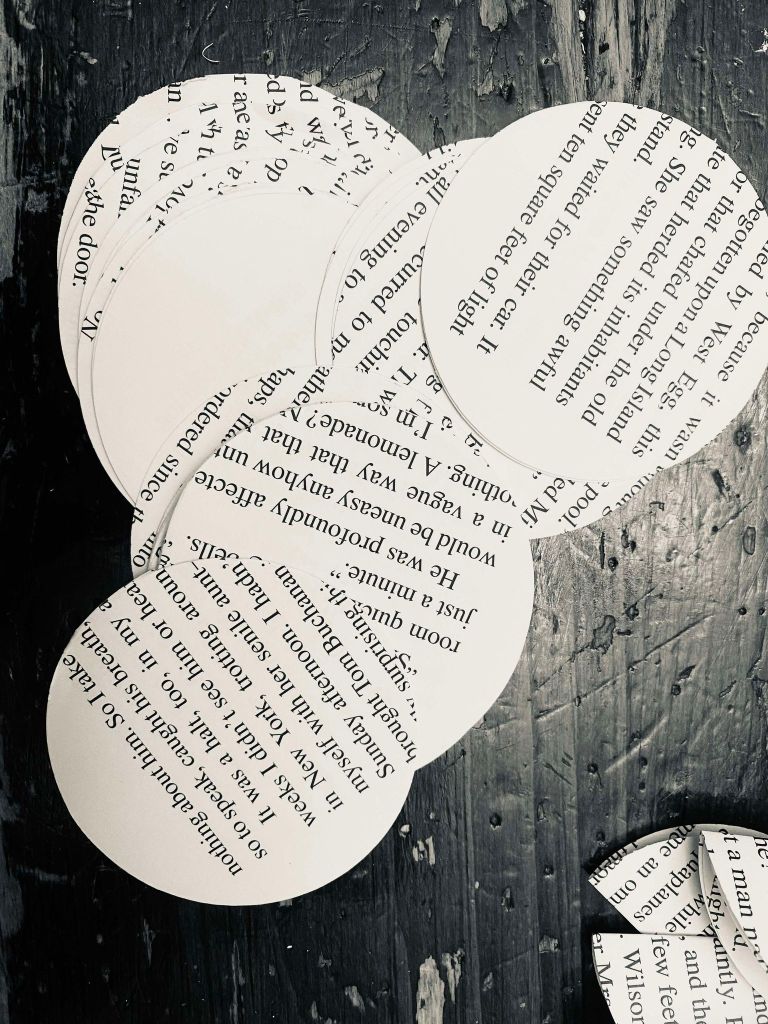
Using the paper punch, cut as many shapes from each page as you can. I was able to get 6 circles from each 5×8 page. This gets boring fast 😅 I put on my favorite show to watch while I cut. Tip: It will look like you have a lot of shapes, even too many, but don’t stop cutting. That pile will get smaller quickly when you start making your garland.
Step 3. Begin assembling.


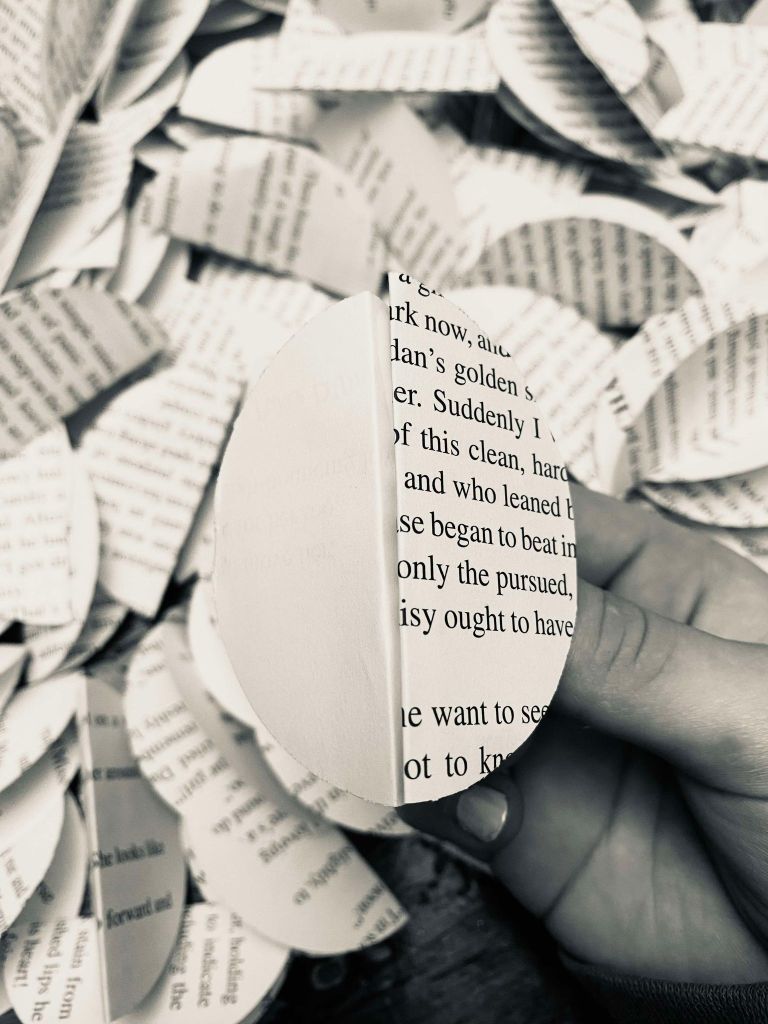
Now that you’ve cut all your shapes, it’s time to start making the garland! All of those shapes you just cut need to be folded in half. I decided to fold all of mine in different ways. On some the words are right side up, others are sideways, and on some there are no words at all. I think folding them all differently adds to the look.
Step 4. Continue assembling.


Once you’ve folded all your shapes in half, it’s time to break out the glue. Take four halves and put them together, as shown in the first picture here. Glue the joined sides together. Repeat with the other two halves, and then glue both pieces together. Do this with all your folded pieces. You want four pieces glued together to look like a half-moon.
Step 5. Finish assembling.


Finally, you’re going to take your half-moons and make them into full circles. Take two halves, flat sides touching, and glue them together. Let the glue dry a bit, and then fan it out. Your finished product should look similar to the second picture.
The last step is to string all your pieces together. I used a needle and embroidery floss to string the balls on, and then I tied a knot to keep each one in place. You can put them together however you want and make your garland as long or as short as you want to.

This is my finished garland! I love how it adds a finishing touch to my bookish corner.
Let’s Chat!
How did your garland turn out? Was it hard to cut up one of your books? Where did you put your finished garland?


